RootsTech has finally arrived. Since Phillip and I are Influencers this year, we had to arrive a day early for a media event. So I thought that would be the perfect time for us to utilize the Family Preservation Center at the Family Search Library. This is an area in the library where you can digitize photos, newspaper articles, family documents, VHS tapes, photo slides and more. Now I know I have written about the Family Search Library before and all the research material that is available. But I must admit that I didn’t know that this was a service that was offered to the public at no charge until I was looking for somewhere to scan my funeral programs a couple of months ago.
Getting organized and scanning the photos that I have acquired and my funeral program collection is something that is always in the back of my mind. But let me just be real for a moment, I have been very lazy. I didn’t want to have to use a flat bed scanner because I would have to scan each funeral program by hand and flip it over to ensure that I scanned both sides. My collection grew so fast, so I just never did scan them. So I have been wanting to find somewhere that I could do multiple programs and photos at once. Once I discovered that I could do it at the Family Search Library, the only thing I had to figure out was how to get my photos and funeral programs and my luggage in a bag that weighed less than 50 pounds, so I didn’t have to pay extra at the airport.
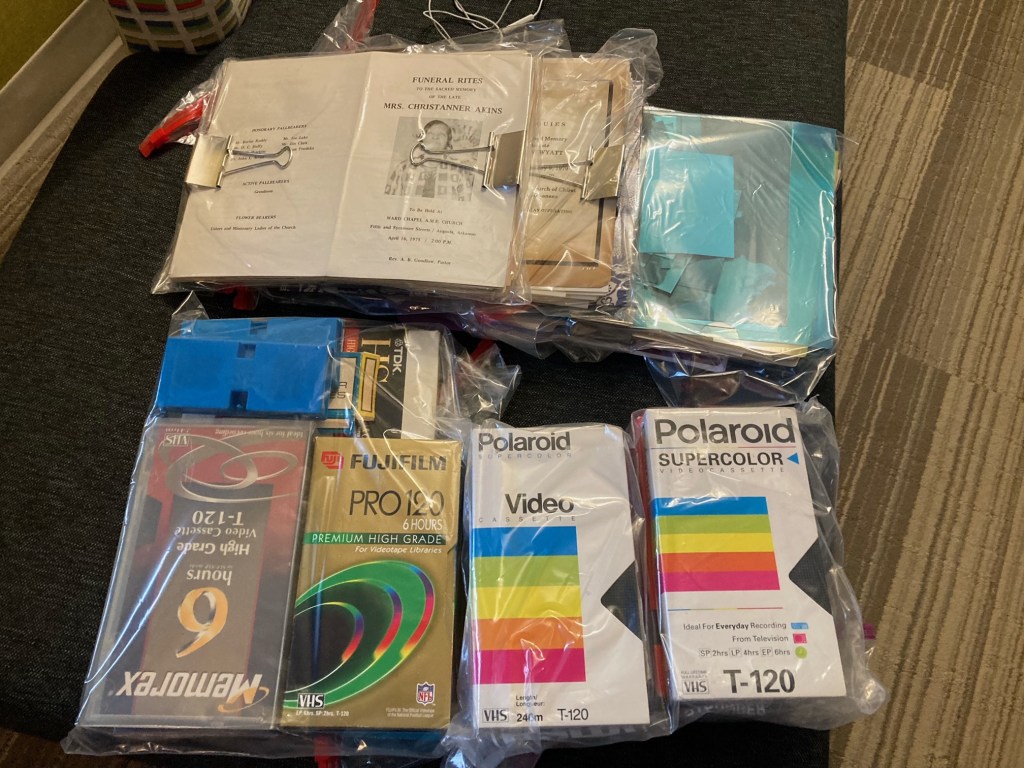
Once I told Phillip about the scanning capabilities at the Family Search Library, he went online to see all that they offered. He learned that he would be able to digitize some old family movies that were on slides and 8mm film. So I had to decide would I pack all the photos and documents that I could and forgo clothes for the convention, or would I figure out what’s the most important to digitize and plan my outfits very carefully. I decided on the latter. I took all my funeral programs out of my three ring binders and put them in two gallon zip lock bags. I did the same with a select amount of photos that I wanted to scan. I picked out the VHS tapes that I wanted to convert as well. I put all of those items along with the reels and slides that Phillip wanted to digitize in my carry on bag, that way my checked bag would have just clothes in it. All in all this plan worked out very well.
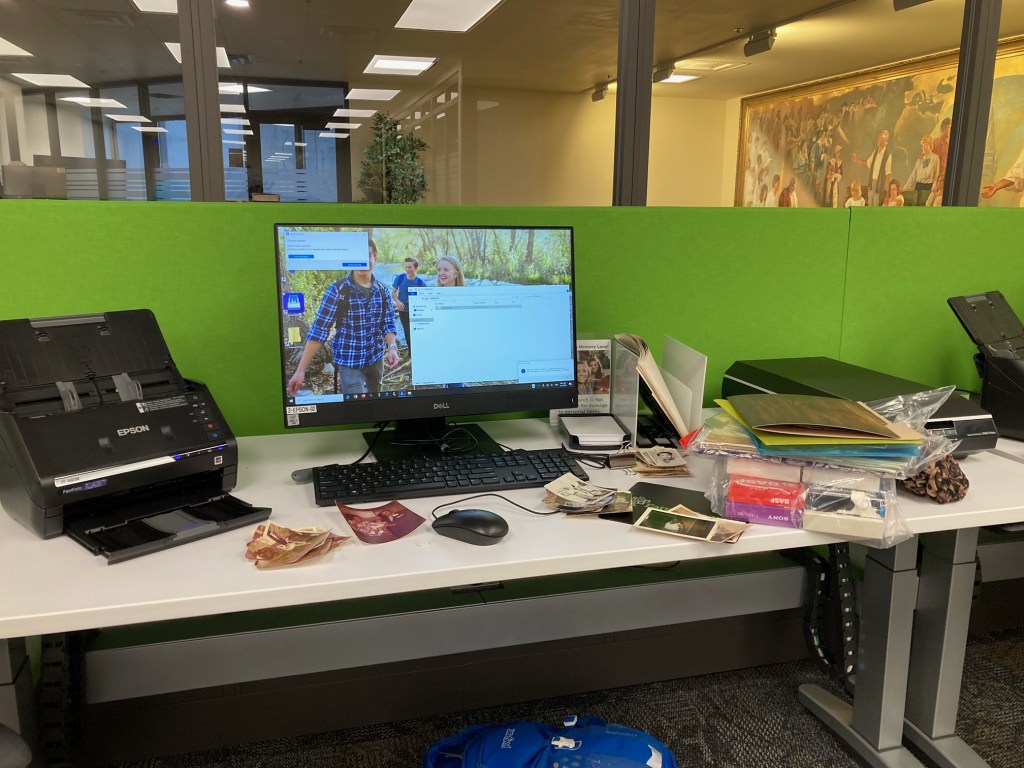
We arrived in Salt Lake City on Tuesday evening which meant we would have all morning and afternoon Wednesday to go to the Family Memory Preservation Center. So we both made reservations last month for 8am and 10 pm which gave us 4 hours to dedicate to scanning. My first reservation was for a fast photo /document scanner. I would be able to scan up to 20 photos/pages at a time within one minute. It also scanned both front and back which worked out great for my funeral programs. My second reservation was for the VHS video converter. I was able to digitize four VHS tapes of weddings and Branch High School reunions. Phillip’s first reservation was for the high speed slide scanner. His second reservation was for the 8mm and super 8 film digitizer.
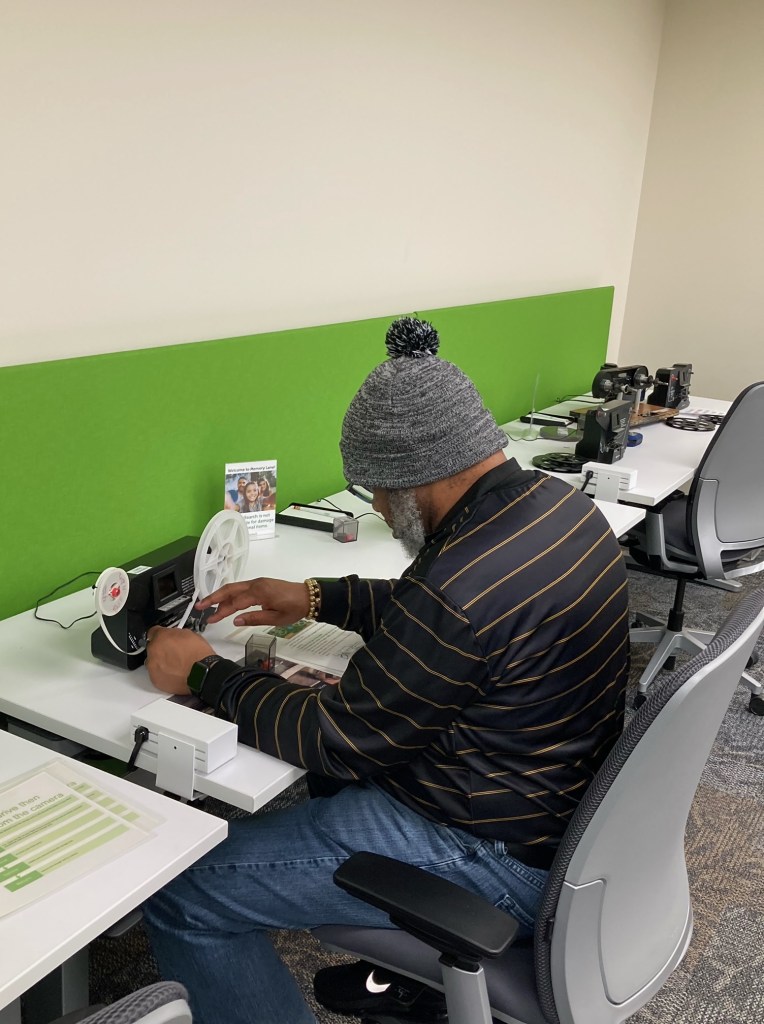

When we arrived at the Family Search Library, we went up to the second floor and checked in for our reservation. The volunteers at the Family Search Library walked me through how to use the software on the computer and how to connect my flash drive. Once I got settled at my workstation and got my photos and funeral programs out and organized, it only took about 40 minutes to scan everything. So then I moved over to the VHS converter. Phillip walked me through how to use it, and I got started. This process did take longer because the tape had to actually play in it’s entirety to record. But that was fine because that just meant I got to go down memory lane for a couple of hours and re-watch our wedding and two Branch High Reunions. While I was doing that Phillip scanned the slides that he brought. That was a pretty quick process as well taking less than an hour. He then moved on to the 8mm and super 8 film digitizer. That process took the longest, but it was well worth it to be able to see his family from before he was born in the 1970s. We ended up spending about five hours total in the Family Memory Preservation Center. RootsTech hasn’t officially started and we are already putting in work.
When I say this was the best decision I could have made, I mean that. Everything was so convenient and easy to use. I’m already thinking of what I’m going to bring with me next time. Now that we have completed all the scanning/digitizing that we wanted to do, we can focus on all things RootsTech including the classes that we will be attending, the expo hall, and actually doing so research at the Family Search Library. We still have three fun filled genealogy days ahead of us, and I can’t wait!!!

An excellent investment of 5 hours to preserve all those precious family history items!
LikeLike